The first real snow hasn’t fallen everywhere yet, but now is still the time to get your emergency gear out of the basement. Turn on the device, set up the probe once, assemble the shovel, and check the battery level. If you do this in October, you’ll notice in time that the battery only has half its runtime left or that the probe’s tension cord is worn out. By January, when you’re at the trailhead, it’ll be too late.
To put this in perspective: On average over the last twenty years, about 21 people have died in avalanches in Switzerland each winter, almost exclusively off-piste. According to the SLF, the chances of survival for a person completely buried drop significantly after just about 15 minutes. No rescue organization can reach you that quickly. The group you’re traveling with is the one that will dig you out.
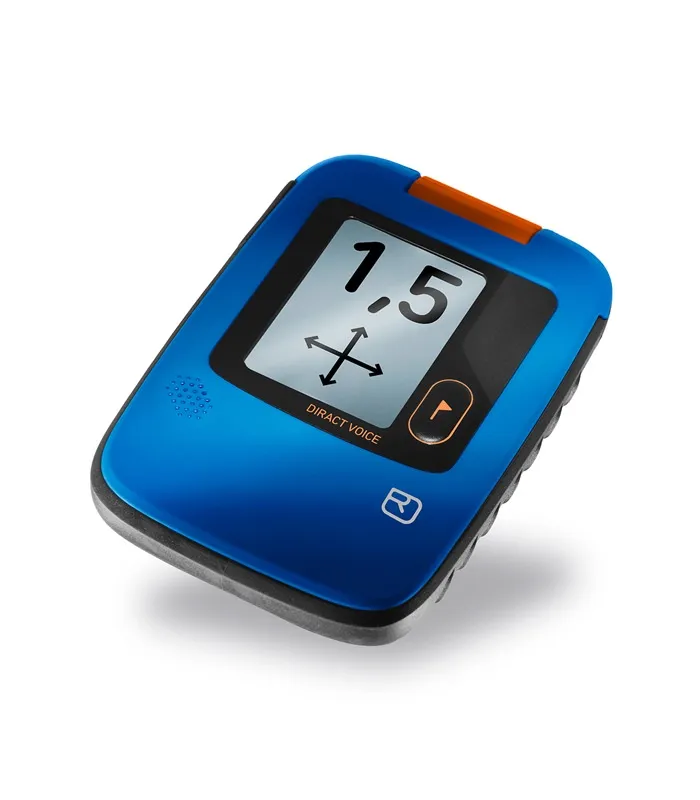
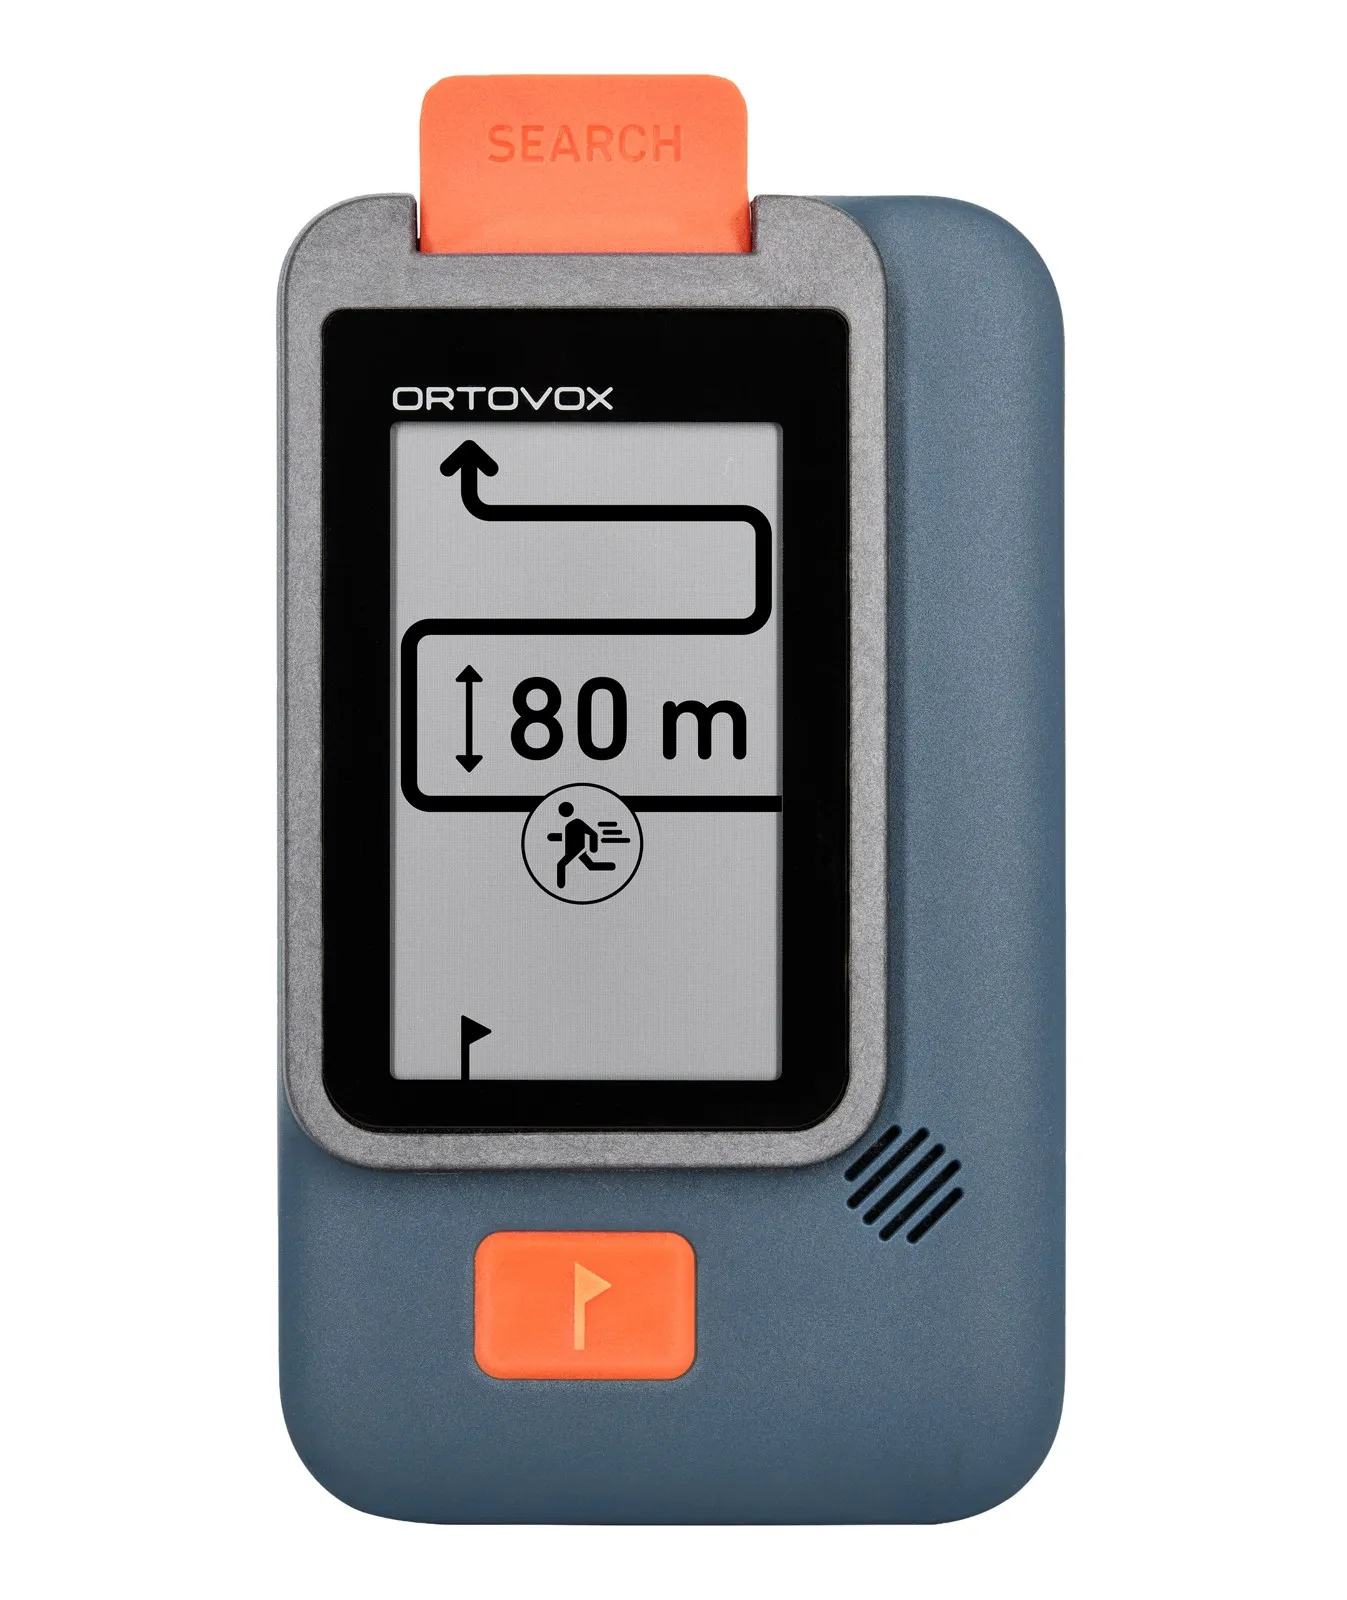
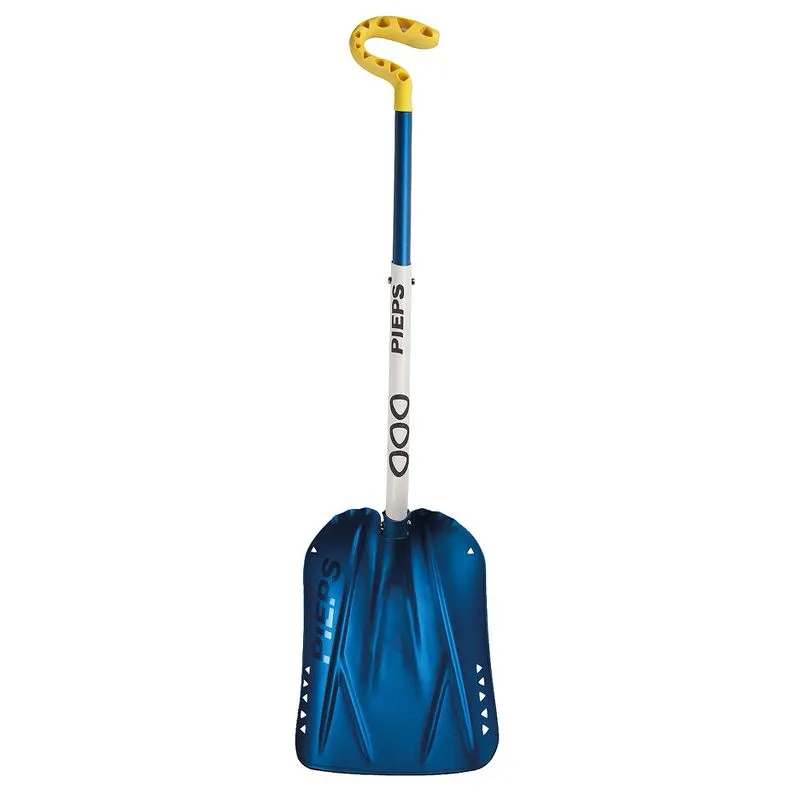
Avalanche gear: avalanche transceiver, shovel, and probe are a single unit
Use the avalanche transceiver to locate the spot, the probe to pinpoint the exact location, and the shovel to reach the person. If any one of these is missing, the chain breaks. That’s why the complete set belongs in your backpack, even on a short after-work tour and when skiing off-piste next to the trail.
- √ Avalanche transceiver, digital and with three antennas
- √ Shovel with an aluminum blade and telescoping handle
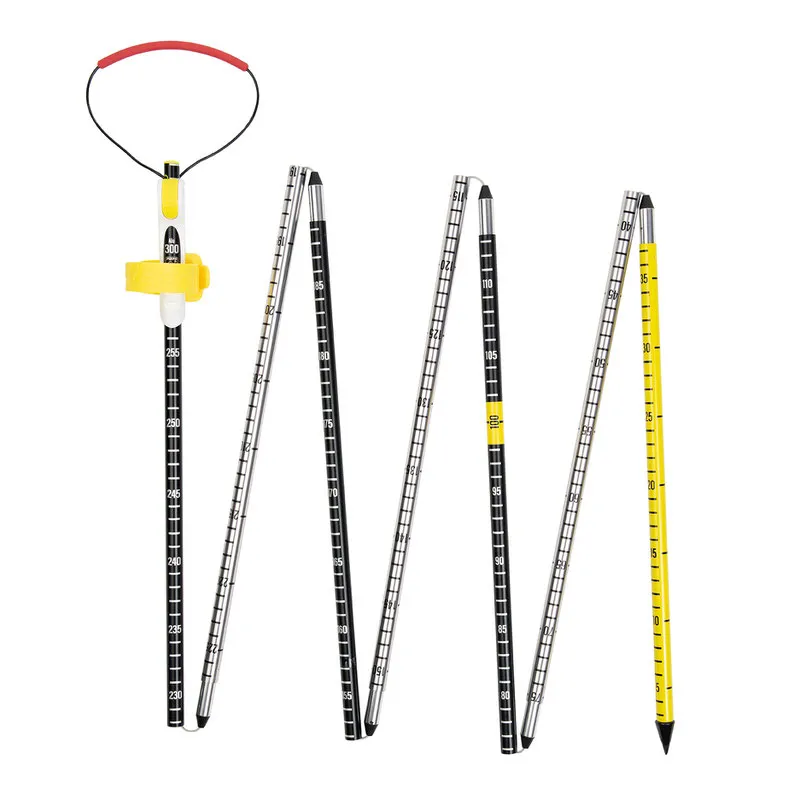
- √ Probe at least 240 centimeters long, preferably 280 to 320
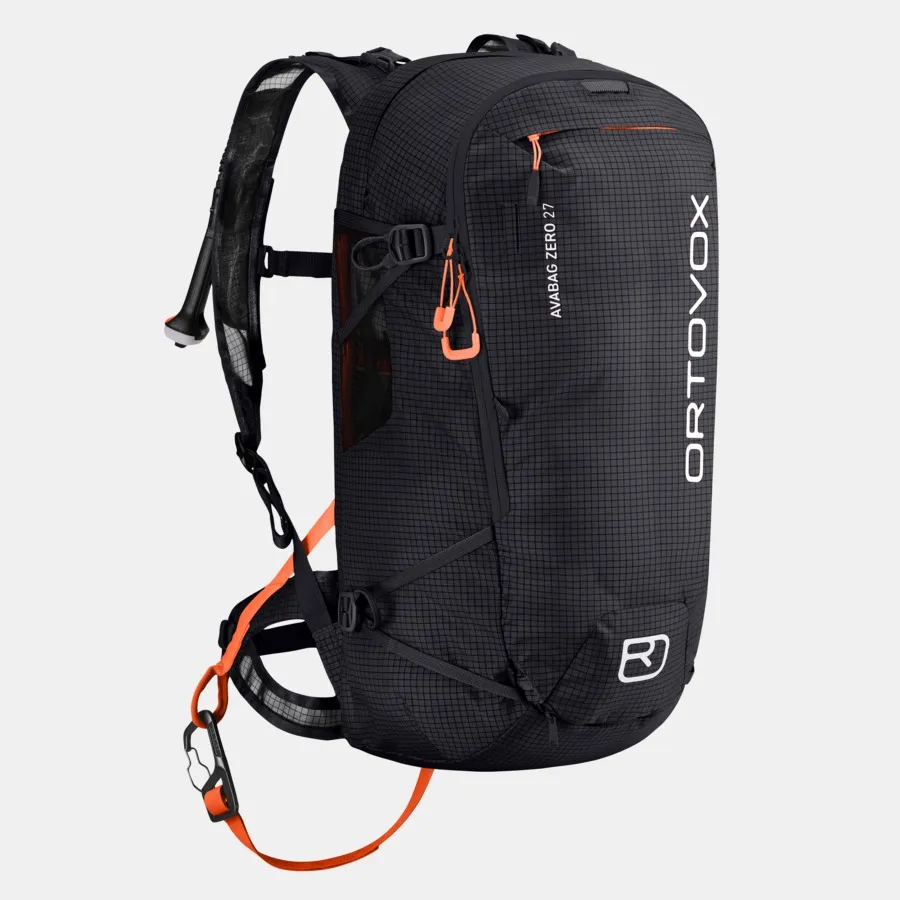
- √ Backpack with a separate safety compartment
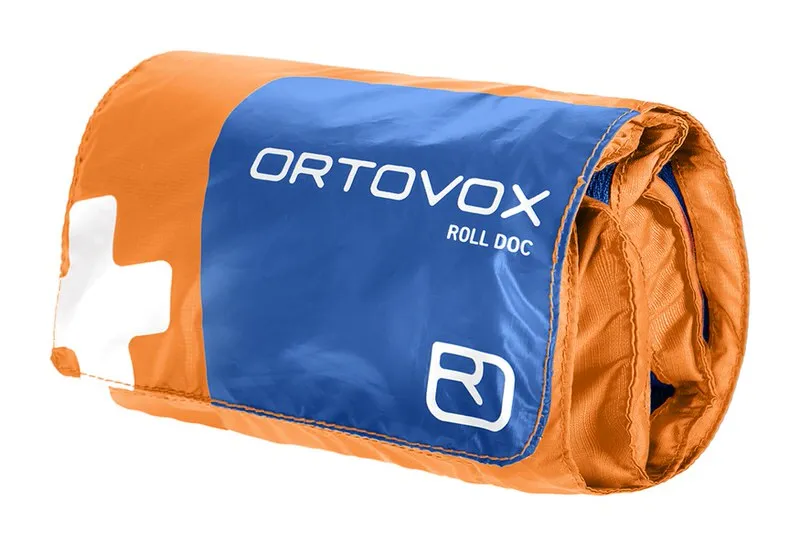
- √ First-aid kit, bivouac sack, and a charged cell phone
- √ Training and at least one drill per season
Avalanche transceiver: three antennas, marking function, fully charged battery
All avalanche transceivers transmit worldwide at 457 kilohertz, so you can easily mix and match brands. What makes the difference is how you operate it under stress. Choose a digital three-antenna device with a clear directional indicator and a marking function for multiple victims. An automatic switch back to transmit mode is mandatory in case a second avalanche follows.
Devices like the Ortovox Direct are designed to reduce operation to a single button. The Focus Voice uses voice navigation to tell you which search phase you’re in and what comes next, with an 80-meter search strip width and a weight of 185 grams. Both charge via USB-C. You’ll find the full selection under Avalanche Rescue, we carry devices from Ortovox and Pieps.
Carry the device in a harness under your jacket or in the designated pocket of your pants, never loose in your backpack. It also needs to be kept away from electronic devices: The UIAA recommends a minimum distance of 20 centimeters from cell phones, smartwatches, and action cameras when in transmission mode. During a search, turn off all your own devices completely, including heated gloves and socks, and keep a distance of at least 50 centimeters from your headlamp.
Avalanche shovel: aluminum blade instead of plastic
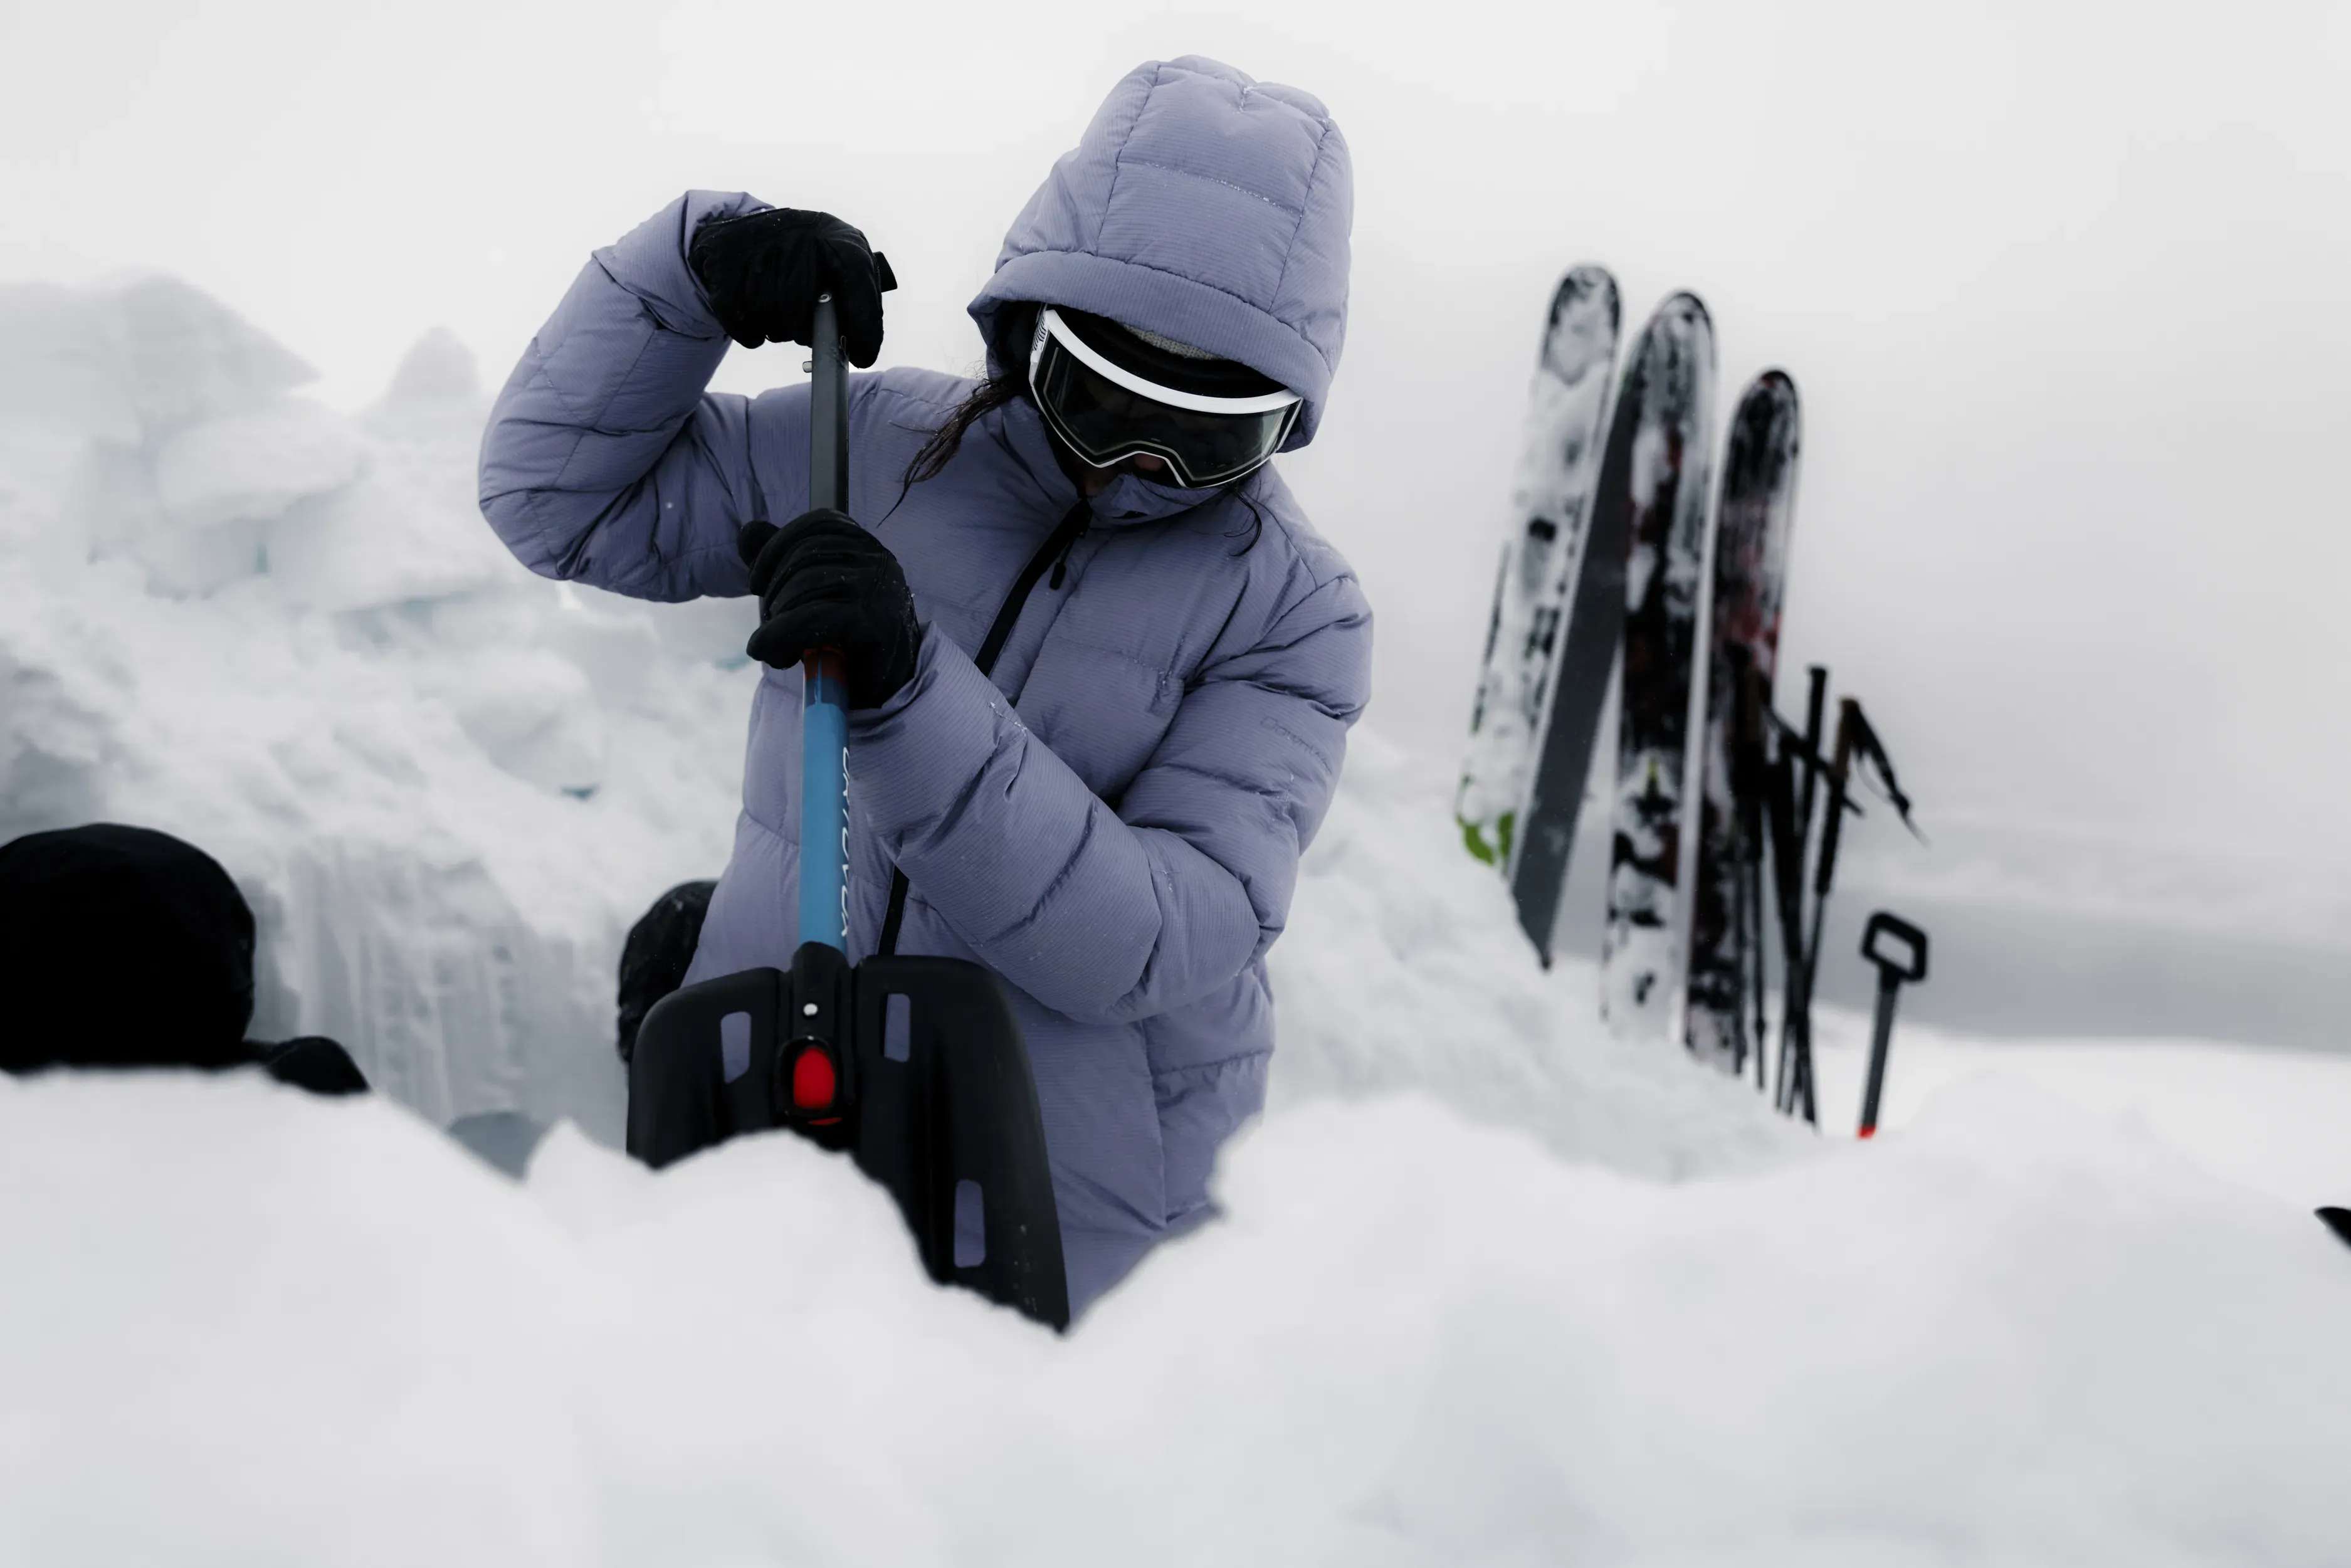
After an avalanche, the snow is as hard as Styrofoam, often even harder. A plastic blade will break or won’t even dig in. Bring a shovel with an aluminum blade, a telescoping handle, and a grip you can hold securely even with thick gloves.
Don’t underestimate this part: Digging usually takes longer than searching and probing combined. You don’t dig straight down along the probe, but rather from downhill toward the probe, working in shifts as a team. In an emergency, this is exactly the few minutes that end up being missing.
Avalanche probe: 240 centimeters is the minimum
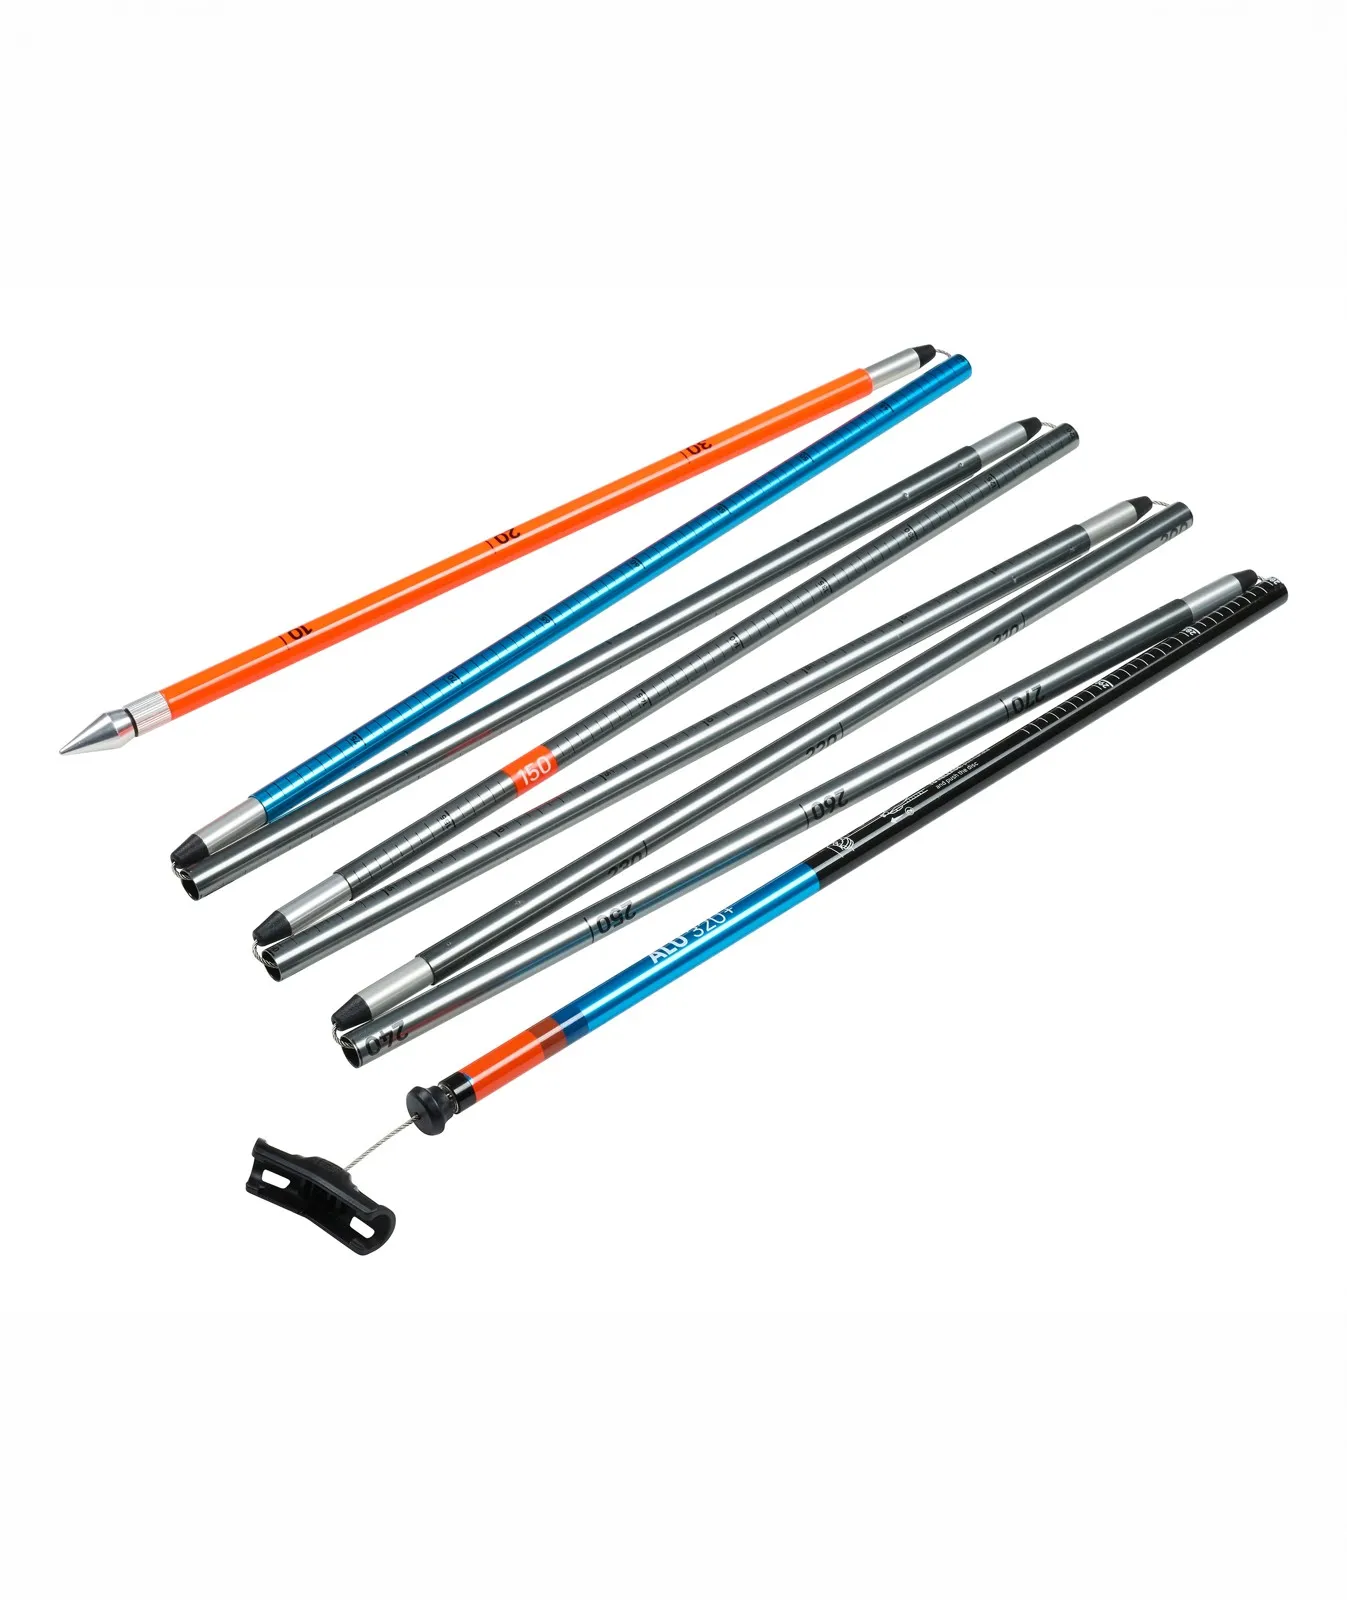
After the initial search, probe in a spiral pattern at intervals of about 25 centimeters until the tip encounters resistance. Then leave the probe in place, it serves as your marker while digging. Anything under 240 centimeters gets too tight, 280 to 320 centimeters is the better compromise. Aluminum is cheaper and more durable, while carbon saves weight: The Ortovox Probe Alu 320+ weighs 400 grams, while the carbon version of the same length weighs 340 grams.
More important than the gear is how it’s set up. A probe that you can’t extend in seconds with numb fingers is useless. A depth marker set at 1.5 meters shows you immediately how deep you need to dig. For beginners, coordinated kits are practical, such as the Ortovox Rescue Set Direct, which includes a transceiver, shovel, and probe.
Avalanche airbag: a good addition, not a substitute
An airbag can improve your chances of staying on the surface. It doesn’t protect against injuries, terrain hazards, or being buried in the runout zone, and it’s no substitute for training or an avalanche transceiver, shovel, and probe. Electronic systems like Litric use supercapacitors instead of cartridges, charge in about 25 minutes via USB-C, and provide at least two deployments per charge. Test deployments are free, and there’s no need to worry about cartridges at the airport.
When it comes to the backpack, it’s not so much the volume that matters as having a separate safety compartment: you need to be able to access the shovel and probe without first having to unload your thermos and skins. Suitable touring backpacks range from 18 to over 40 liters, for day trips, 25 to 30 liters is sufficient.
Before the tour: Check, bulletin, course
The avalanche transceiver check at the start isn’t just a formality. One person switches to “search” mode, everyone else walks past them one by one, then everyone switches to “transmit” mode, and the person conducting the check is checked themselves. It takes two minutes. The SLF avalanche bulletin is published daily at 5 p.m. and applies to the following day, with danger levels ranging from 1 to 5. Read it the night before.
And here’s the most important part: gear is no substitute for training. An avalanche course with the SAC or a mountain guide takes just a weekend and is worth more than any gear upgrade. As for the bindings, though, don’t try to handle them yourself: we’ll check the installation and Z-value of your touring bindings on the test bench in the workshop. Bring your touring skis by in the fall, and everything will be ready before the first snow falls.
Frequently Asked Questions About Avalanche Equipment
Which avalanche transceiver is right for beginners?
One that you can operate without thinking: digital, three antennas, clear directional display, a single marking button. More expensive devices can do more, but for the standard situation with a buried person, what matters is that you don’t have to navigate through menus when you’re under stress.
How old can an avalanche transceiver be?
What matters isn’t the year it was made, but the technology. Analog devices and those with one or two antennas need to be replaced, for older digital devices, it’s worth having the manufacturer check them before the season starts. Remove the batteries at the end of the season, leaking batteries have ruined more than a few devices.
Is an avalanche airbag enough instead of an avalanche transceiver, shovel, and probe?
No. The airbag is designed to prevent you from being buried deep, it doesn’t help anyone during search and rescue operations. The order of priority when buying gear is therefore clear: first an avalanche transceiver, shovel, and probe, along with training, then an airbag.
How long does an avalanche probe need to be?
240 centimeters is the minimum, 280 to 320 centimeters is the safe choice. The burial depth is often around one meter, but there’s no guarantee below that. If your helmet is too short, you won’t even be able to reach someone buried deeper.
Do I need this gear even for short runs off-piste?
Yes. An avalanche doesn’t care how close the lift is. As soon as you leave the secured area, the same rules apply as on a long tour: full set of gear on your person, avalanche bulletin read, and a group that can search. You should wear a helmet in open terrain anyway.