Your ski boot has a bigger impact on your day on the slopes than the skis themselves. If your heel slips up on every turn, the instep feels tight, or your toes are cold after just two runs, it’s almost never a matter of skill. It’s because ski boots come from the factory in standardized shells, but feet don’t. That’s exactly where customization comes in.
The first step comes before you buy. Ski boot sizes are measured in Mondopoint, which is the foot length in centimeters: 26.5 means 26.5 cm. That sounds straightforward, but it isn’t. Two feet of the same length can have completely different builds—in width, instep height, and arch. Added to this is the last width at the forefoot: around 97 to 98 mm is considered narrow, 100 mm medium, and 102 mm or wider is considered wide. A wide foot in a narrow shoe can only be accommodated to a limited extent after the fact—and vice versa.
The shell test tells you more than any spec sheet
The most honest test takes a minute: Remove the liner, step into the empty shell with your bare foot, and let your toes rest against the front. The space behind your heel reveals the truth:
- √ 1 to 1.5 cm of space: a sportier, tighter fit for anyone who wants to apply pressure to the edge
- √ About 2 cm: a comfortable fit for long days and for children who are still growing
- √ More than 2.5 cm: too big. Your foot shifts around inside the boot, and you keep tightening the buckles more and more.
The flex rating on the shell, on the other hand, should be taken with a grain of salt. It’s not standardized: a 120 from one brand might feel softer than a 100 from another. Weight, height, and skiing style are what matter—not the number. So, try on boots in the afternoon, because your feet swell as the day goes on.
Fitting ski boots: what really happens at the shop
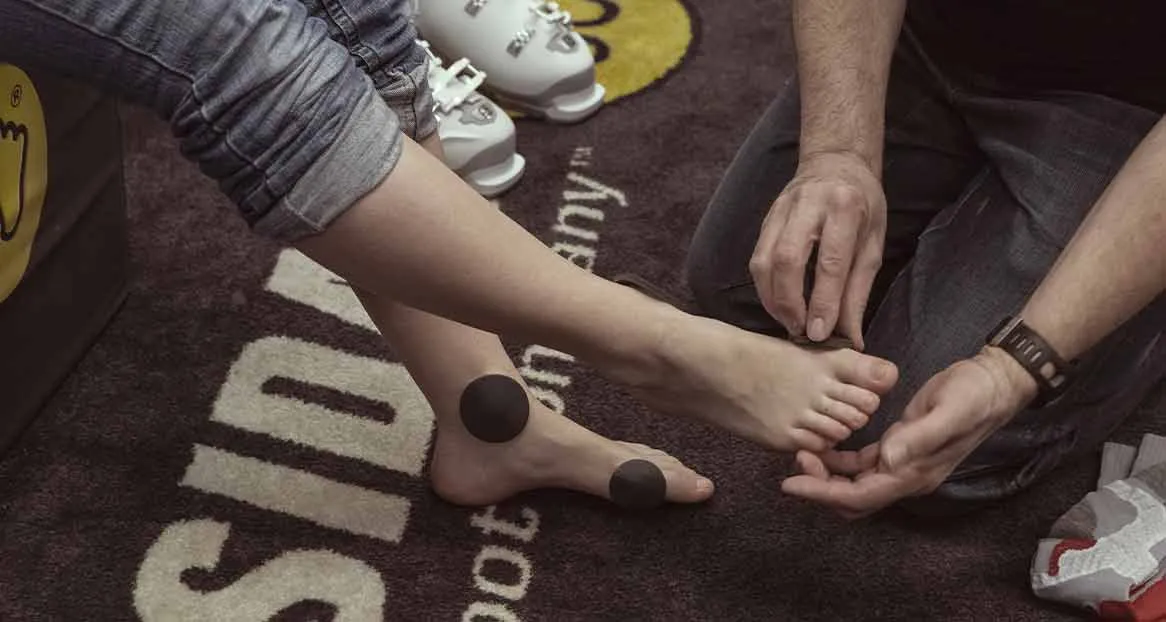
Once the shell has been selected correctly, the real work begins. Boot fitting isn’t a single step, but rather a series of adjustments that build on one another:
- √ Foot analysis: Length, width, arch, and position are measured
- √ Insoles: They provide your foot with a supportive base before any milling is done
- √ Thermal molding: The liner—and, on many models, the shell as well—is heated and molded to the shape of your foot
- √ Spot correction: individual pressure points are widened or milled out from the inside
- √ Volume and alignment: Heel wedges, volume reducers, and canting position the foot correctly
The insole is the most important factor
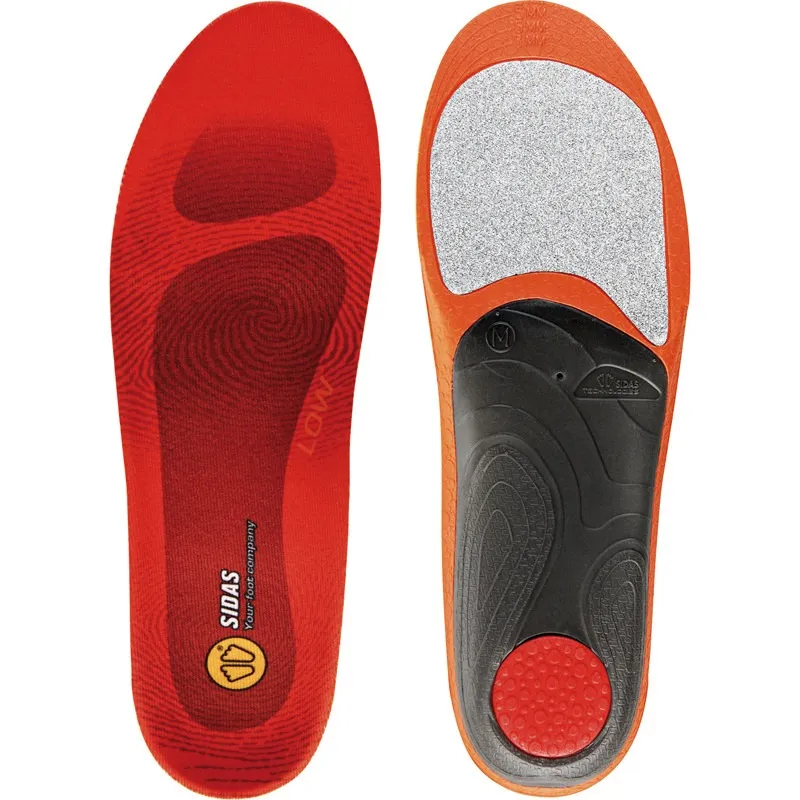
The insole that comes standard with the boot is usually a flat piece of foam with no supportive function. Your foot sinks into it, becoming longer and wider, and ends up hitting the front of the boot. A supportive insole distributes pressure across the entire surface rather than just on the heel and ball of the foot. Which model fits depends on the arch of your foot, which comes in low, medium, and high versions. You’ll find insoles and inserts designed specifically for these three types.
Targeted Relief for Pressure Points
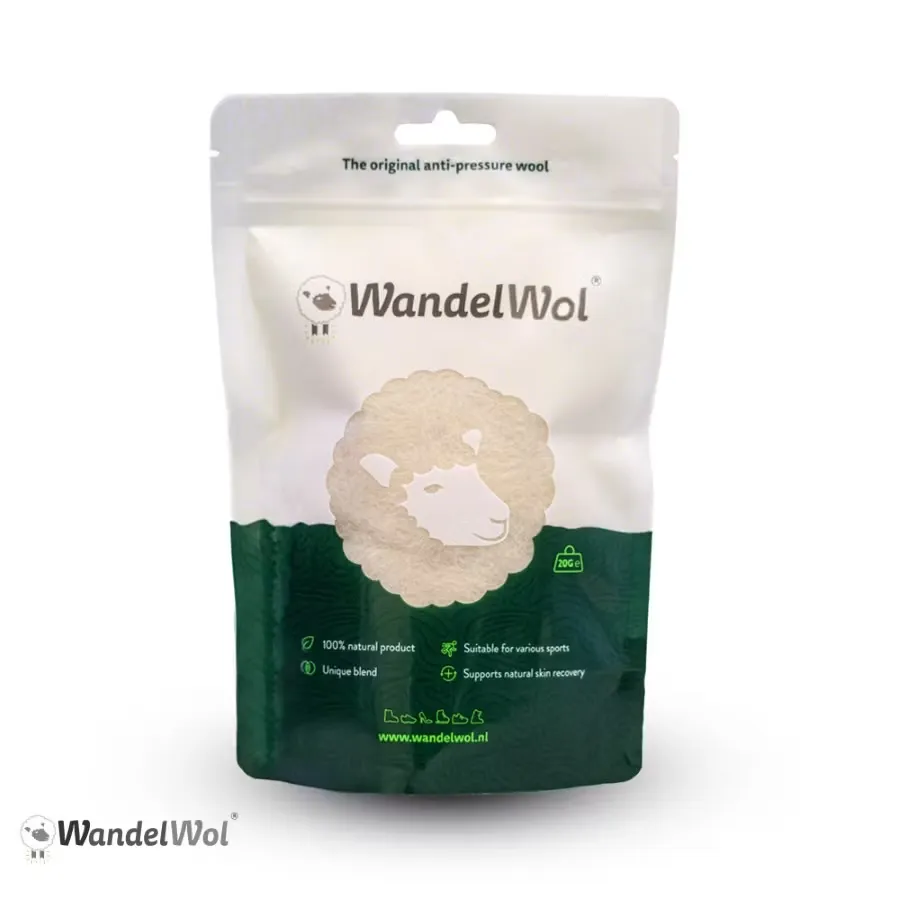
Common problem areas include the ankle, the navicular bone on the inner foot, the shin, and the big toe. There are two ways to address this: the shell is heated and stretched locally at the affected spot, or it’s milled thinner from the inside. This is supplemented by bulging and targeted adjustments. Our ski boot fitting page lists which method works for which problem, organized by foot condition—from cold feet to heel spurs to hallux valgus. For minor issues, accessories are often sufficient: gel pads on the shin, ankle guards, toe caps, or a small tuft of anti-pressure wool on the irritated area.
If the boot is too loose
Too much volume is just as uncomfortable as too little, though you’ll notice it differently: your heel lifts, your forefoot slides forward, and you compensate by tightening the buckles. Heel wedges and volume reducers placed under the insole can help with this. An “Booster ” strap replaces the Velcro strap with an elastic band that holds the shaft evenly in place instead of constricting it.
Cold feet are rarely a problem with insulation
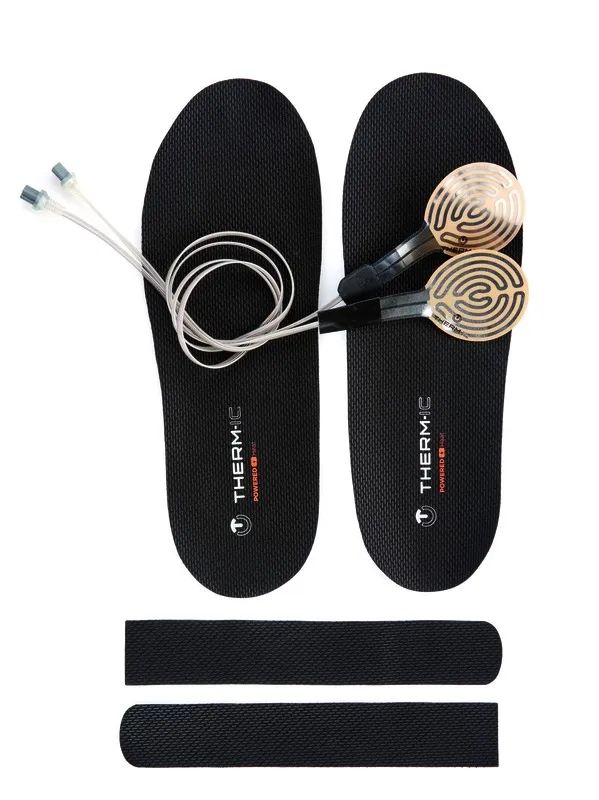
If your feet get cold in the boot, you’ll usually reach for a thicker sock. This makes things worse: the boot feels tighter, blood circulation worsens, and your feet get even colder. The right choice is a single, thin ski sock that fits without wrinkles. If your feet are still cold, a ski boot heater is more reliable than adding more layers of fabric. And the liner really needs to dry out overnight: a boot dryer can do that, but the heater in the basement can’t.
Before the season starts: Check the soles
One point that’s often overlooked during fitting but is critical for safety: the soles under the toe and heel. These are wear parts and, together with the binding, determine whether the boot releases cleanly in a fall. Worn-out or torn soles interfere with release in both directions; on most models, they can be replaced as spare parts. Have the boot and binding checked together on a test bench instead of trying to assess this yourself. If you ski a lot, protect the soles with sole guards.
What you can do yourself
Dry the liner, apply gel pads, insert an insole, and adjust the buckles and straps properly: all of this is doable. Stretching the shell, milling it down, adjusting the canting, or reshaping the inner boots in the oven: no. Once the material has been overstretched or milled too thin, it won’t return to its original shape. It’s best to clarify what’s possible for your foot beforehand on the boot fitting page or directly over the phone.
And give new boots time. The liner will noticeably mold to your foot over the first three to five days of skiing. That’s why a new boot should fit snugly at first. If they feel like sneakers right away, they’ll be too big after ten days. Re-evaluate them after a few days on the snow and then have them readjusted, rather than rushing to get them broken in on the first night. Ski boots, including custom fitting in our own workshop, are available at ski-shop.ch and Lengnau.
Frequently Asked Questions About Fitting Ski Boots
How long does it take to break in a ski boot?
It takes about an hour for the foot analysis, consultation, and initial fitting; thermal molding requires additional time to cool down. Adjustments after your first few days of skiing usually take about twenty minutes.
Can any ski boot be customized?
Almost any boot, but not without limits. Insoles, heel wedges, and pads work with every model. Stretching and milling are only possible if the shell is thick enough. If the length or last width simply doesn’t fit, a different boot is the more sensible solution.
What ski boot size do I need?
The Mondopoint size corresponds to your foot length in centimeters, measured while standing with weight on your foot. Don’t convert from your street shoe size—the variations are too great depending on the brands. And don’t go up a size just to be safe: too much room compromises control.
How tight should a ski boot fit?
Snug, but not painful. When standing upright, your toes should lightly touch the front of the shell and pull back as soon as you assume the skiing position. Your heel should stay in place. Numbness, tingling, or pain are not signs that the boots are breaking in—they’re a reason to make an adjustment.