In September, there’s usually no snow yet in most regions. Still, now is the best time to go over your winter gear. If you don’t realize until December that the adhesive on your skins isn’t holding anymore or that your crampons don’t fit your new bindings, you’ll miss out on the first good ski tours. And the selection is still complete in the fall, whereas in January, your exact length or width might be out of stock.
A ski tour isn’t like a day on the slopes with different skis. You’re off the secured trails, and no one is there to check anything for you. That’s why, when putting together your gear, it’s not just about weight and price—it’s first and foremost about safety.
Ski touring gear: what belongs in your setup
Broadly speaking, the gear is divided into three categories: ascending gear, safety gear, and everything you wear on your body. You can save weight on ascending gear, but not on safety gear.
- √ Touring skis with touring bindings
- √ The right skins, plus skin care products and a skin net
- √ Crampons in the right width
- √ Adjustable touring poles with large baskets
- √ Touring boots with a walking mode
- √ Avalanche transceiver, shovel, and probe
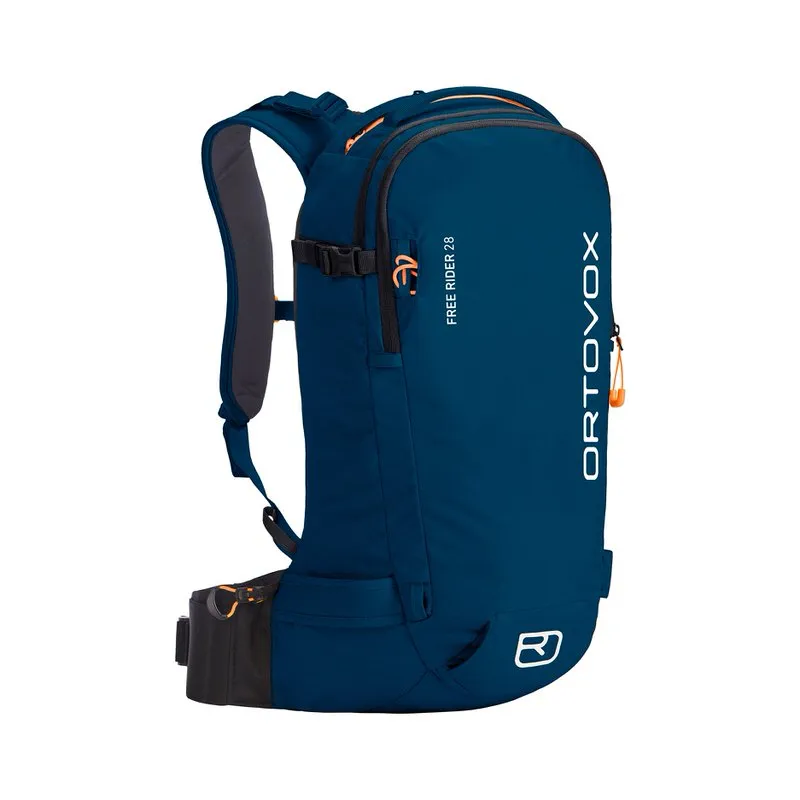
- √ Backpack with ski attachment, helmet, headlamp, first-aid kit
Touring Skis and Touring Bindings
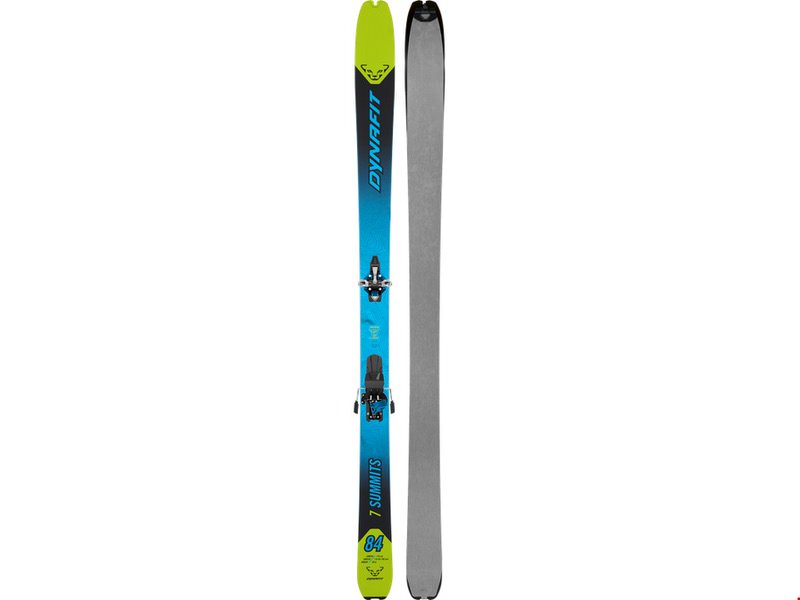
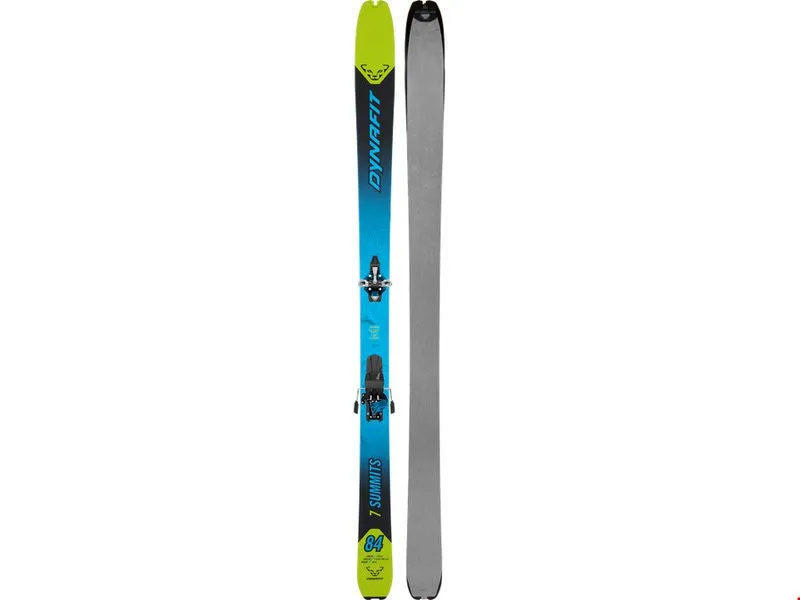
A touring ski is significantly lighter than a piste ski because you’re carrying it the entire way up. For tours with a lot of piste sections and hard conditions, a waist width of 80 to 90 millimeters is a good compromise; in powder, it can be wider. The lighter the ski, the more skittish it becomes on the descent in hard snow—that’s the price you pay for every gram you save.
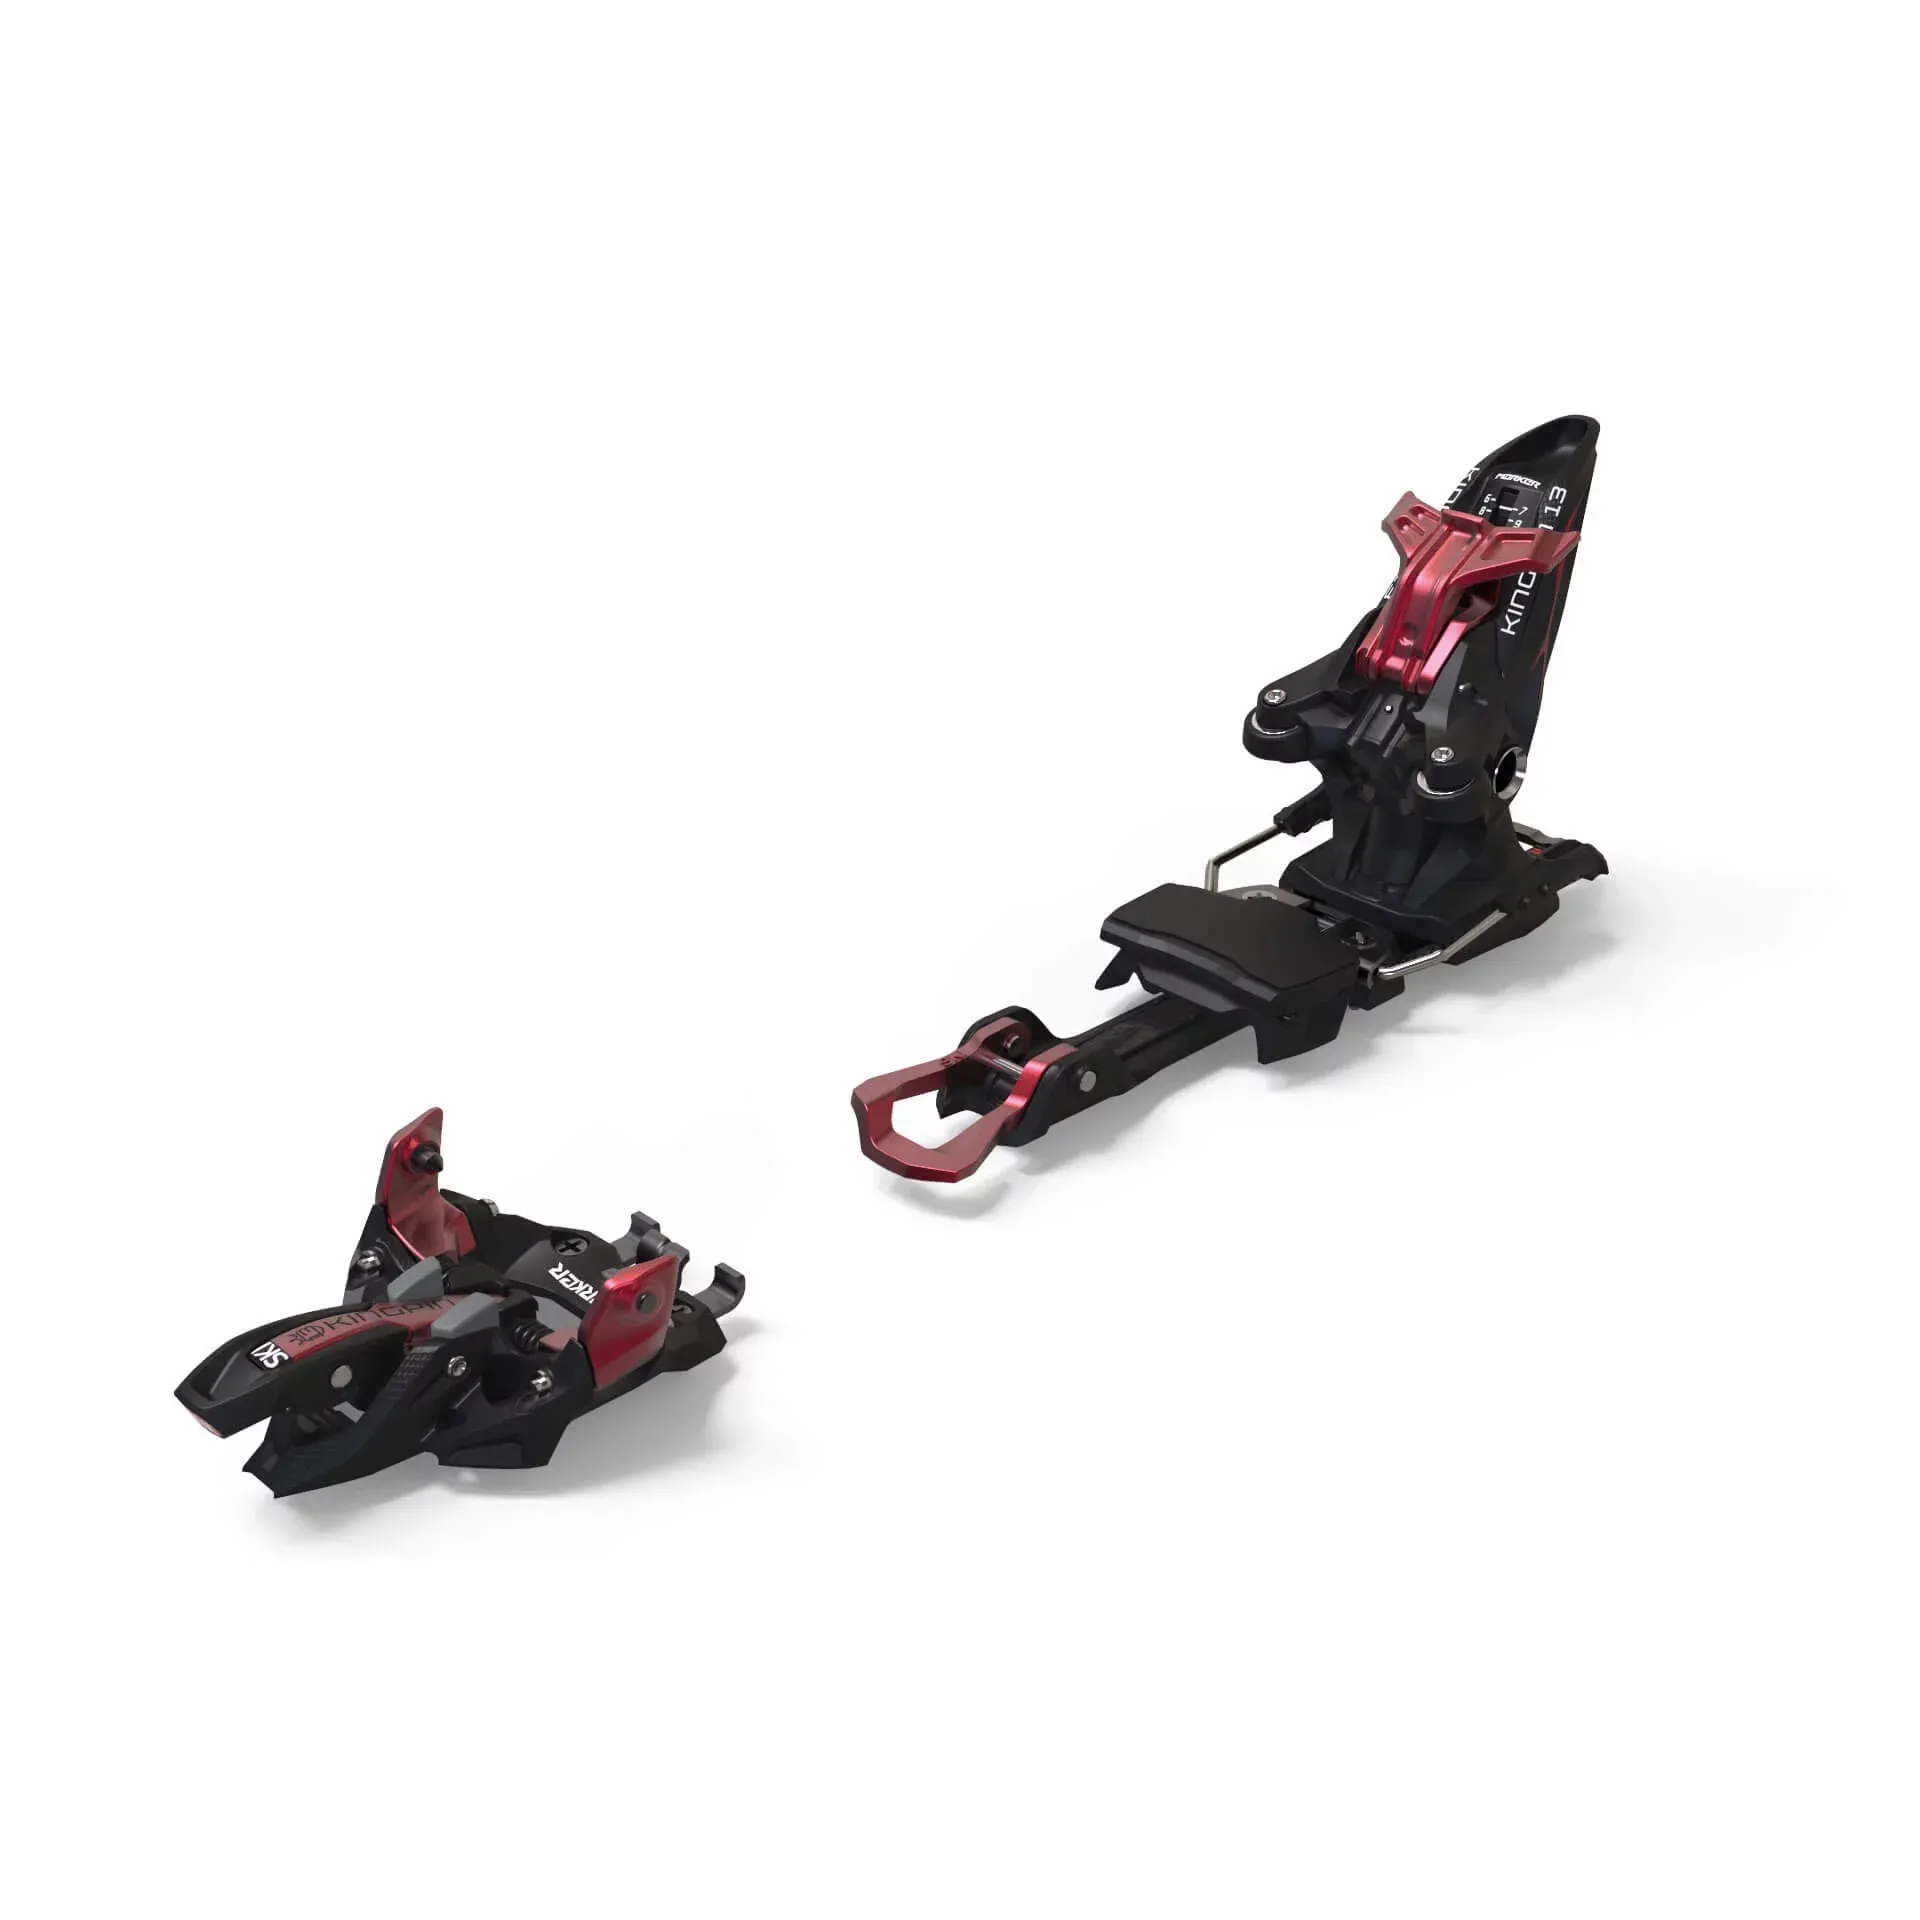
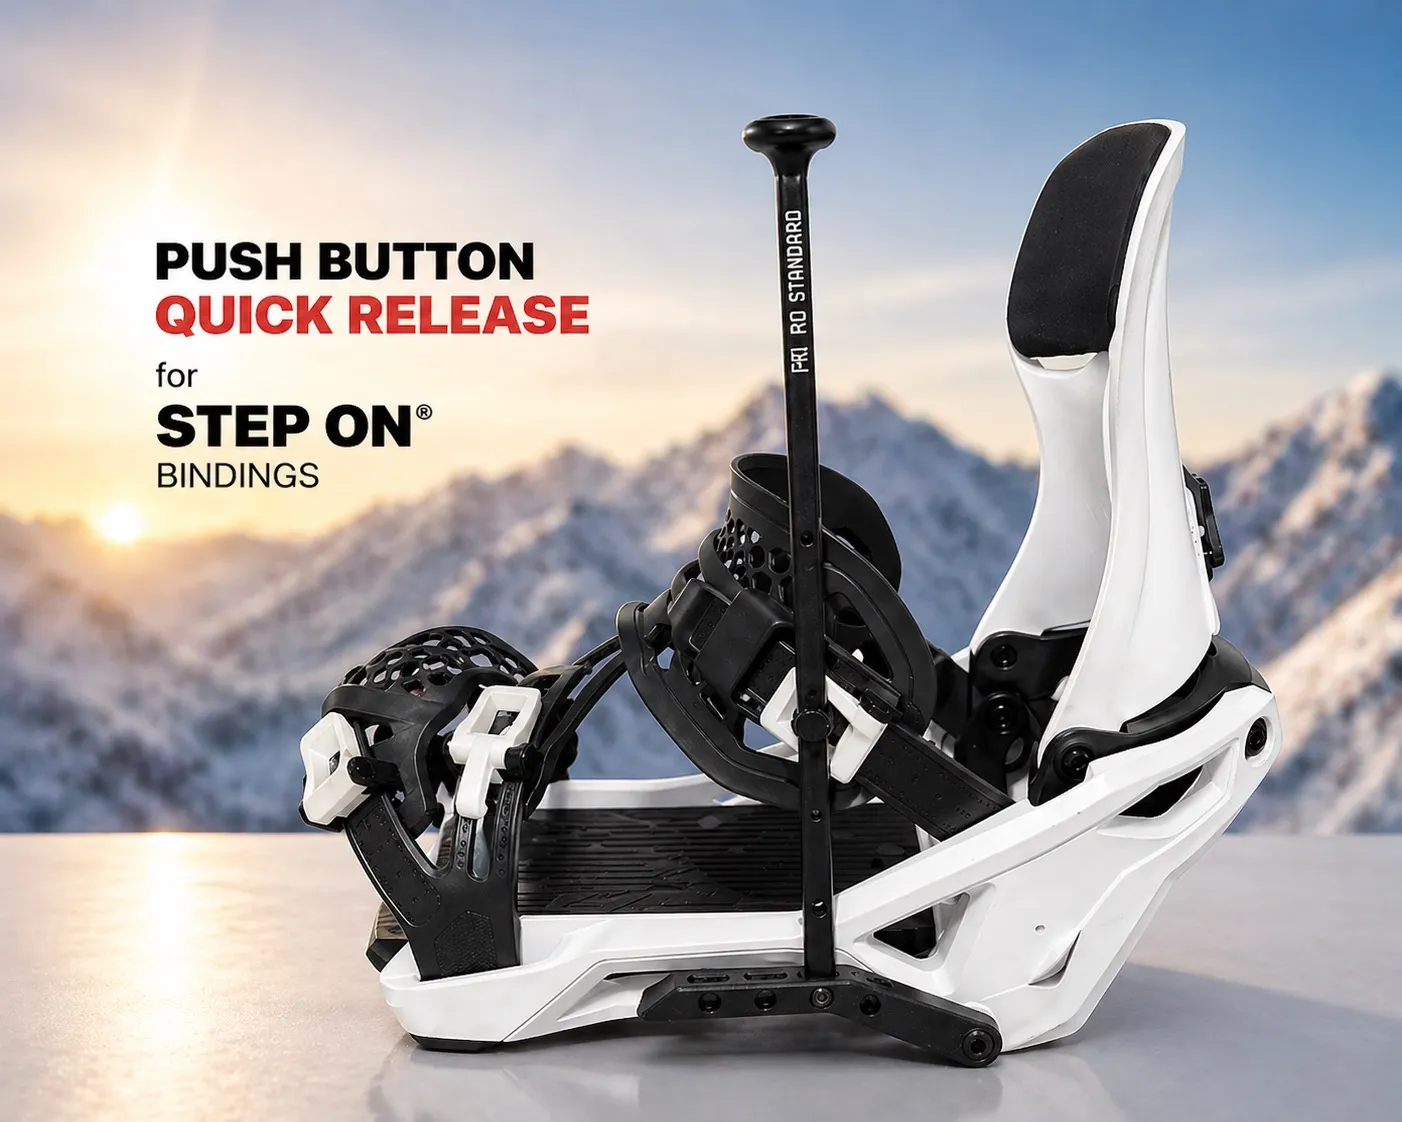
When it comes to touring bindings, there are essentially two types. Pin bindings (also called tech bindings) engage with pins in the inserts on the boot; they’re lightweight and are the standard for long ascents. Prerequisite: your boot must have these inserts; a standard alpine boot won’t fit. Hybrid and frame bindings are heavier, but they feel more like alpine bindings on the descent and some are even compatible with alpine soles. First, decide how much ascending you’ll be doing—everything else depends on that.
Choosing and Caring for Ski Skins Properly
The skin determines whether the ascent is enjoyable. Mohair glides best and is lightweight, but it wears out faster. Nylon grips better on steep sections and is more durable, but it noticeably slows you down. Blended skins are the compromise that keeps most people happy the longest. It’s important that the width matches the ski and that the length is cut neatly.
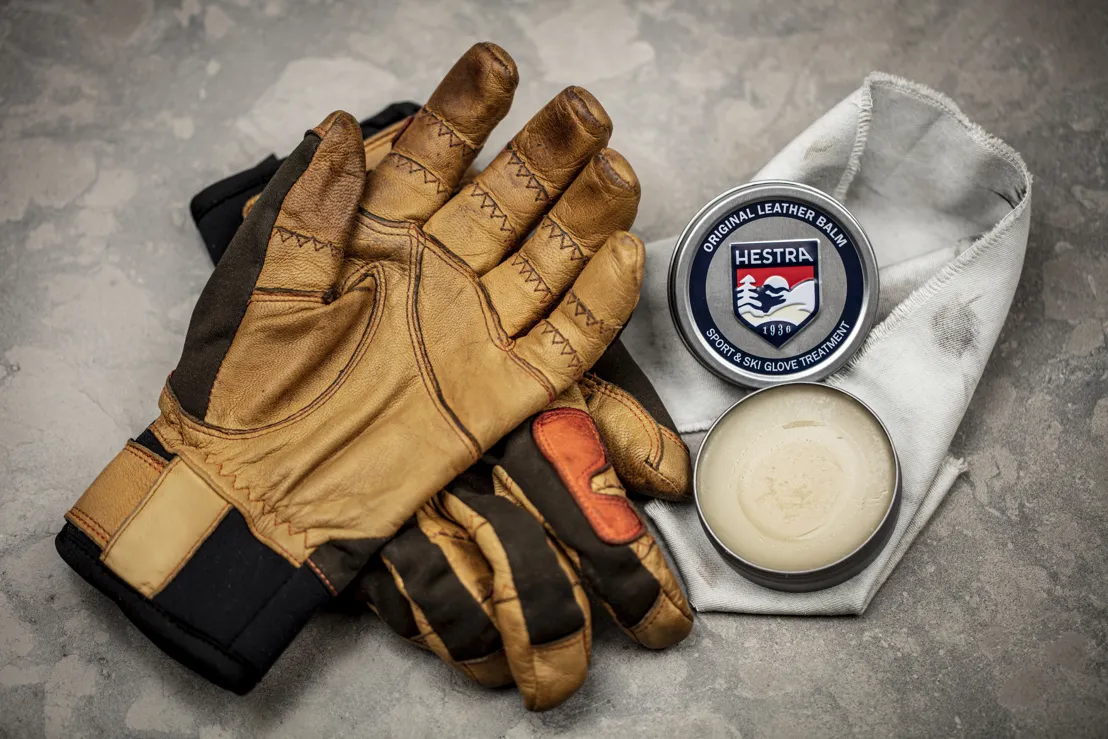
Maintenance is just as important. A skin that’s stuffed wet into your backpack and forgotten there loses its adhesive and absorbs water. Dry it at room temperature—never on a radiator—and store it in a mesh bag. You’ll find matching skins, trimming kits, and replacement hooks along with all the skin care products you need—waterproofing sprays to protect against crampons and adhesive refresher are essential for any touring gear.
Crampons and touring poles
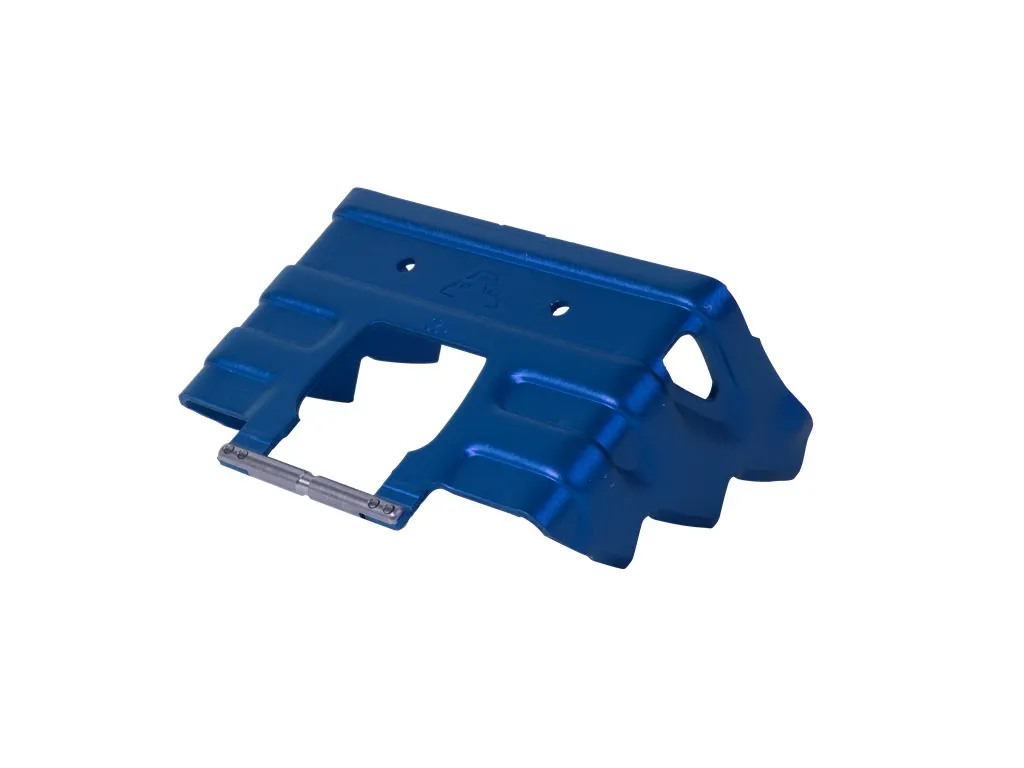
Crampons are the piece of gear that’s most often missing and most urgently needed as soon as spring arrives or a traverse is frozen solid in the morning. They must fit your bindings and be at least as wide as the ski at the binding—preferably slightly wider. It’s best to measure before you order.
For touring poles, the adjustable version is worth it: longer on the ascent, shorter on the descent. Large baskets are a must; otherwise, you’ll sink into soft snow. As a rule of thumb for length on flat terrain, multiply your height by 0.68—so about 115 centimeters for someone who is 170 centimeters tall.
Avalanche equipment: avalanche transceiver, shovel, and probe
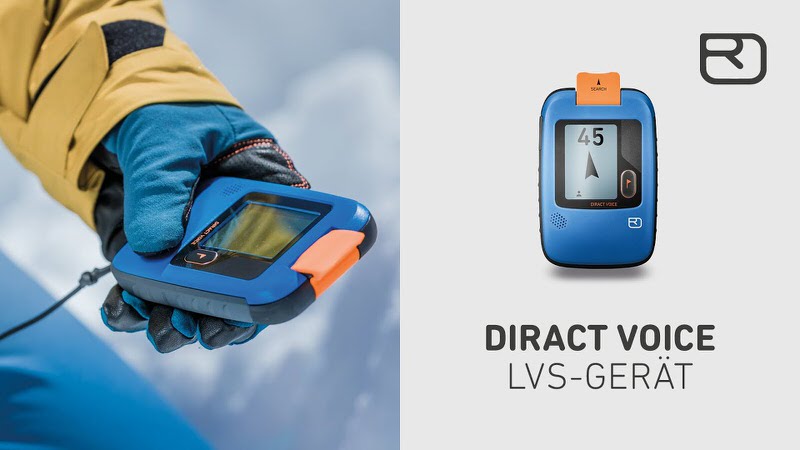
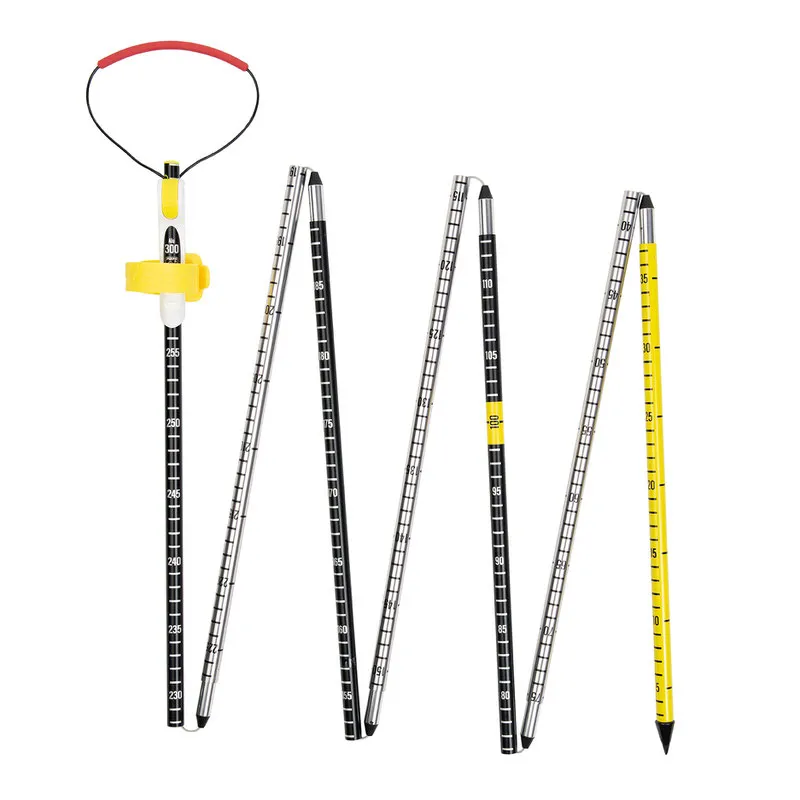
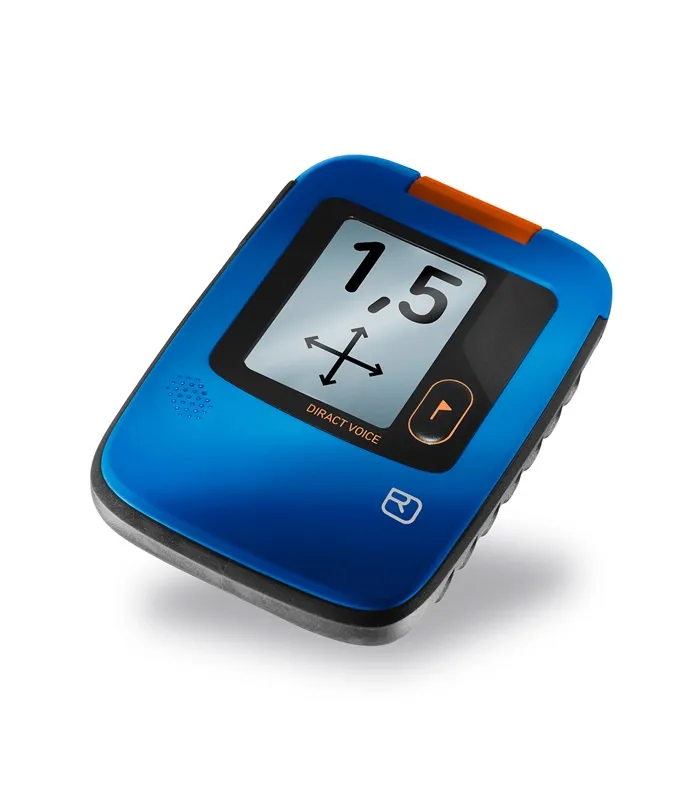
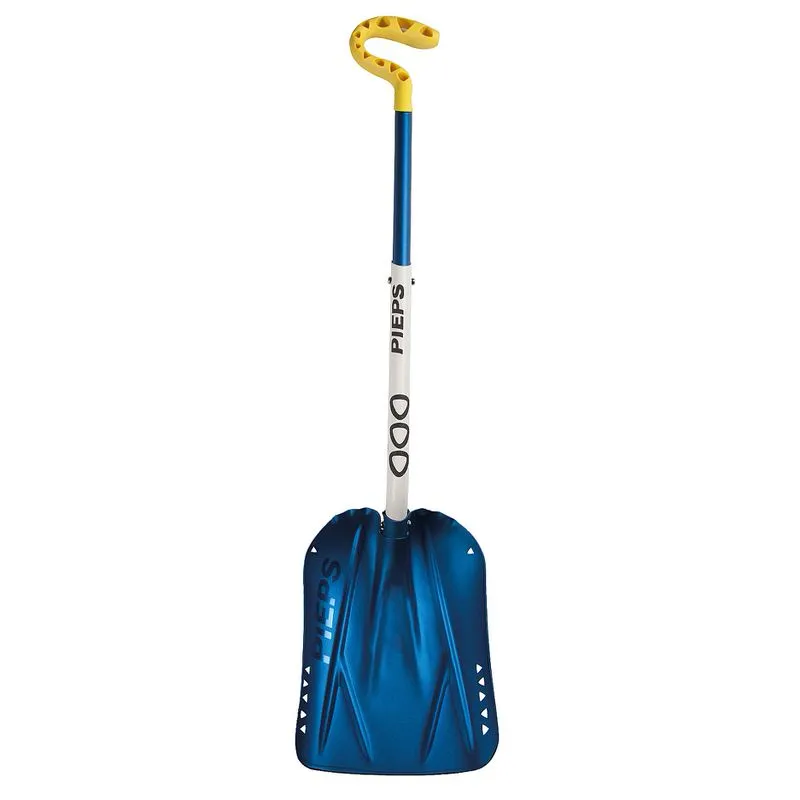
These three items form a single unit. An avalanche transceiver without a shovel and probe is useless to anyone, because while you can locate a buried person, you won’t be able to dig them out. Choose a digital three-antenna unit, a probe at least 240 centimeters long, and a shovel with an aluminum blade—plastic blades fail in hard avalanche snow. All your avalanche gear belongs in the safety compartment of your touring backpack so that, in an emergency, you don’t have to empty your entire backpack first.
To be honest, the gear itself is the easier part. What really matters is that you know how to use it. An avalanche transceiver course with the SAC or a mountain guide takes a weekend and is the best investment you’ll make for your entire gear. Check the battery level before every tour, practice searching once a season, and read the SLF avalanche bulletin before you set out—not just when you reach the trailhead.
What’s best to have done at a shop
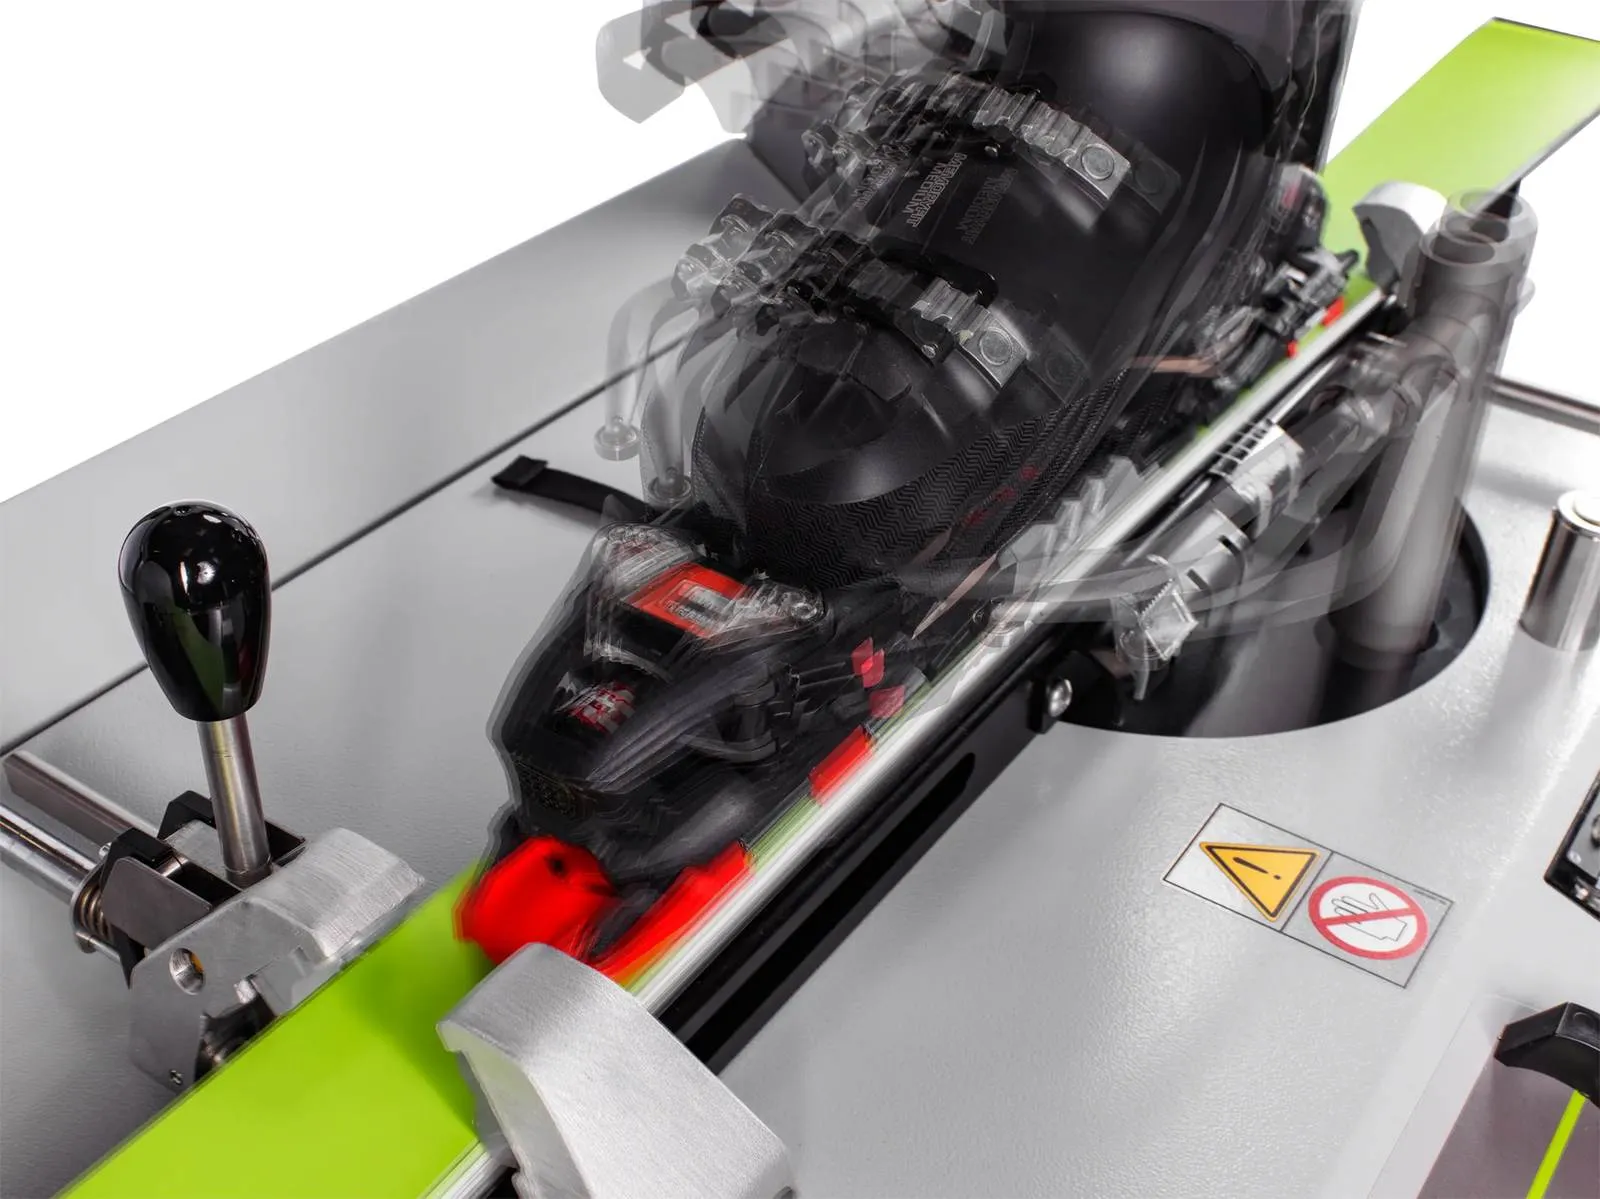
You can have fun on your own when cutting the skins to size and waxing. But the fun ends with the bindings: installation, sole length adjustment, and the Z-value must be tested on a test bench, otherwise the release values can’t be verified. This is especially true for touring bindings, since many models have different tolerances than alpine bindings. Bring your skis to the shop in the fall, so the bindings are checked and the base is ready before the first snow falls.
Frequently Asked Questions About Ski Touring Gear
How much does a complete set of ski touring gear cost?
For a solid beginner’s setup consisting of skis, bindings, skins, boots, poles, and safety gear, you should expect to spend around 2,000 to 3,000 francs. Sets that include skis, bindings, and skins are usually cheaper than buying the individual parts. If you want to see first whether ski touring is right for you, rent your first set of gear and then make a targeted purchase afterward.
Can I use my alpine ski boots for ski touring?
Only with a frame or hybrid binding that accommodates alpine soles. For pin bindings, you’ll need boots with Tech inserts. Plus: Alpine boots don’t have a walking mode—the shaft remains rigid, making the ascent a real struggle. They’re fine for occasional short tours, but for anything beyond that, a proper touring boot is worth the investment.
How long do ski skins last?
With normal use and proper care, skins last several seasons. The first thing to wear out is usually not the fleece but the adhesive. You can have it replaced or refresh it yourself with adhesive and hot melt before buying a completely new skin.
Do I need an avalanche airbag for my first ski tour?
An airbag is no substitute for training or an avalanche transceiver, shovel, and probe. It can improve your chances of staying on the surface, but it does nothing to prevent injuries or being buried in a terrain trap. It makes sense as a supplement once you have the basics down—not as your primary safety gear.
When is the best time to buy backcountry gear?
In the fall. That’s when sizes, lengths, and widths are fully available, and you’ll have time to try on boots at your leisure and have the bindings mounted. Starting in January, the selection of popular models becomes limited.